What high hopes I had on September 7 when I wrote part 5 and naively thought I'd get another post up the next day. Here I am over a month later finally sitting down to do a little writing; in the intervening time I got the entire roof not quite done, but to the point that it'll be good for winter, so this is going to be a very long post, even by Pyromania Industries standards.
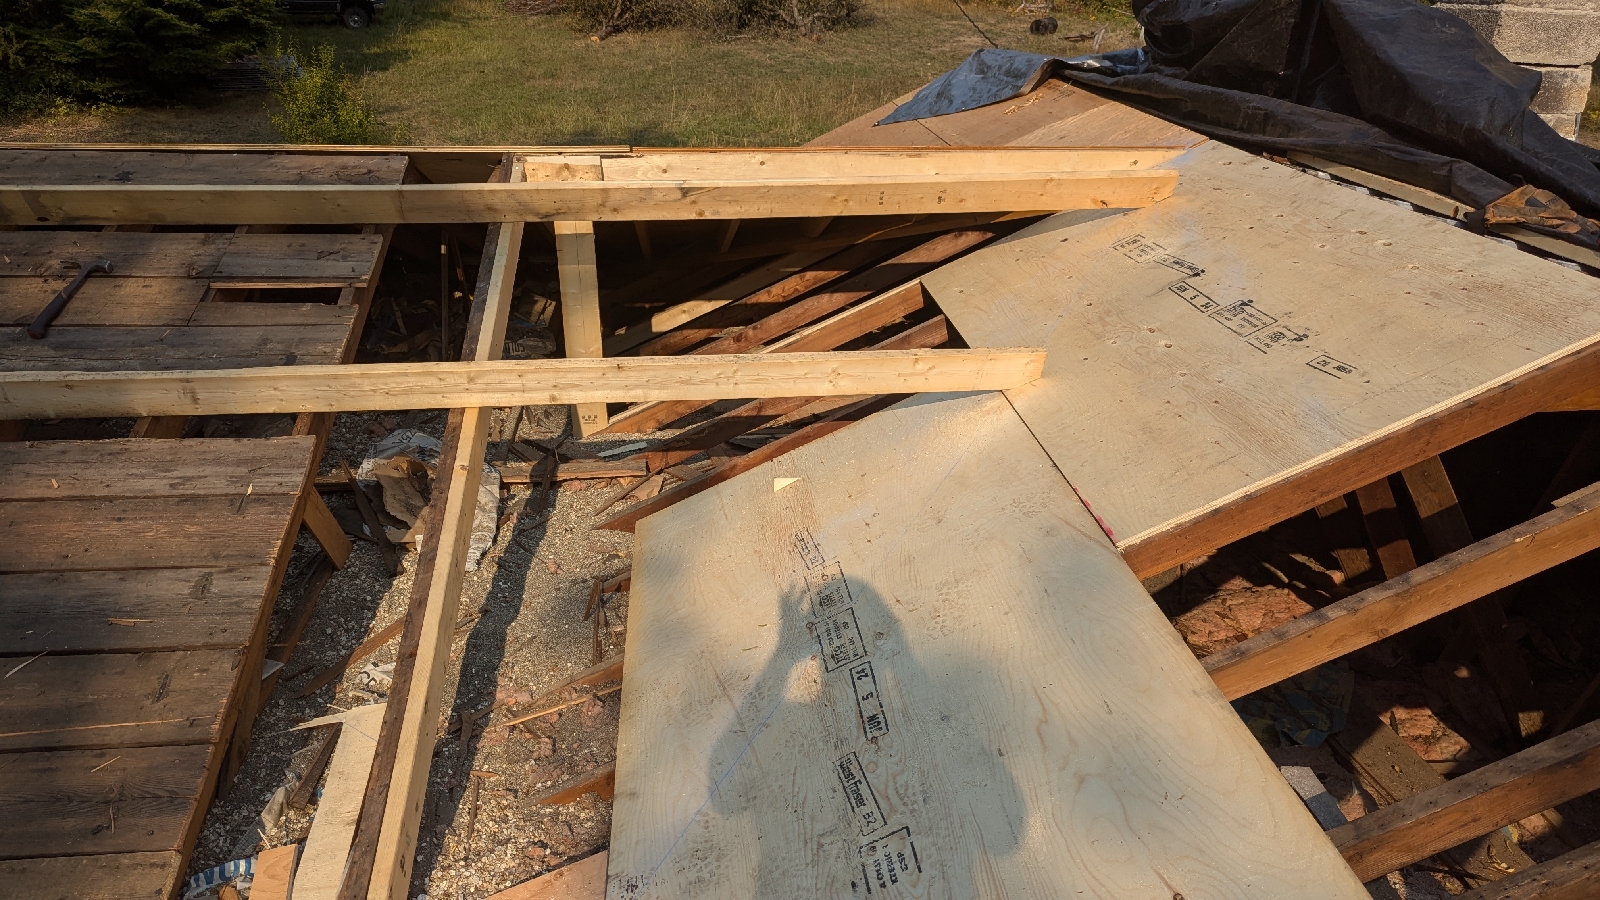
When I left off on the 7th, I had just completed sheeting enough that I could rebuild the valley on the front side of the house, this time with a bit more experience and also some real structure to build from. For this side I again popped some boards off the sheathing of the addition and ran some long 2x6s over to keep the valley consistent.
Armed with the practice of last time and knowing that a lot of the time spent was consumed by setting and re setting the angles on the circ saw, I cut one rafter and used it as a template for the rest. This ended up working out very good and saved a lot of time.
Just as with the other side, I put a 2x4 under the heels of the rafters to help distribute the load onto the existing rafters of the house.
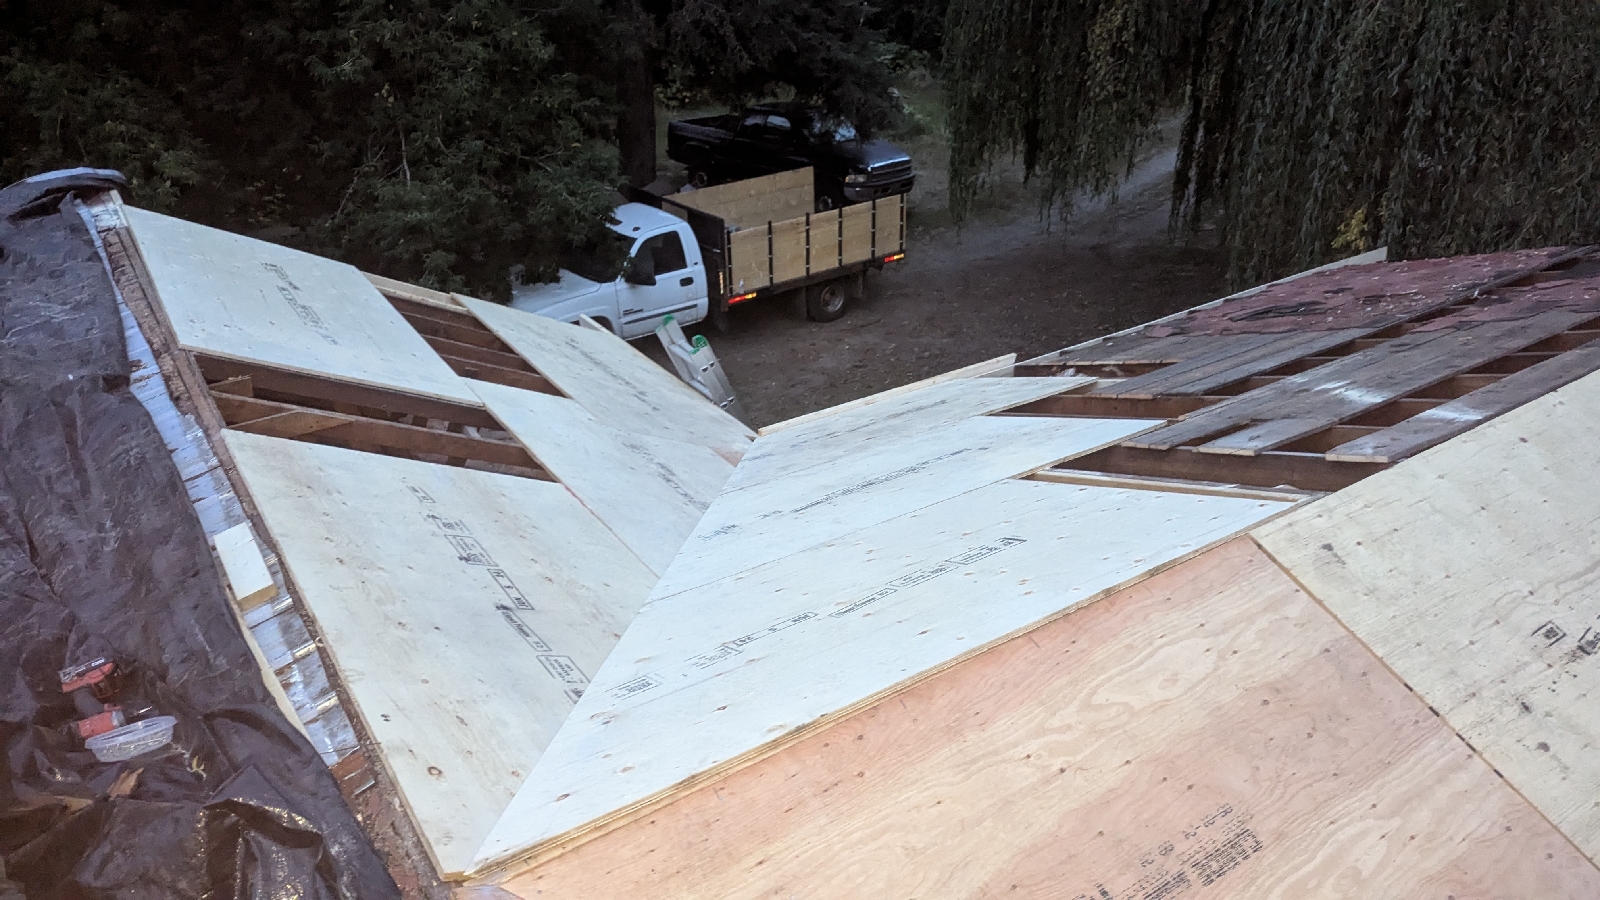
Good as my word that process took me all the way to dinnertime, but there was still light in the day so I pressed onwards and prepped to start sheathing the rest of the valley, getting the hard stuff out of the way. As with the other side, I screwed a board temporarily along the lowest edge of the roof to act as a guide.
The first piece is always the hardest and once it was out of the way I made quite good progress before dark.
The next step with the hard part of the sheathing done was to rebuild the roofline on the addition, starting with prying the saggy and unsupported previous one right off.
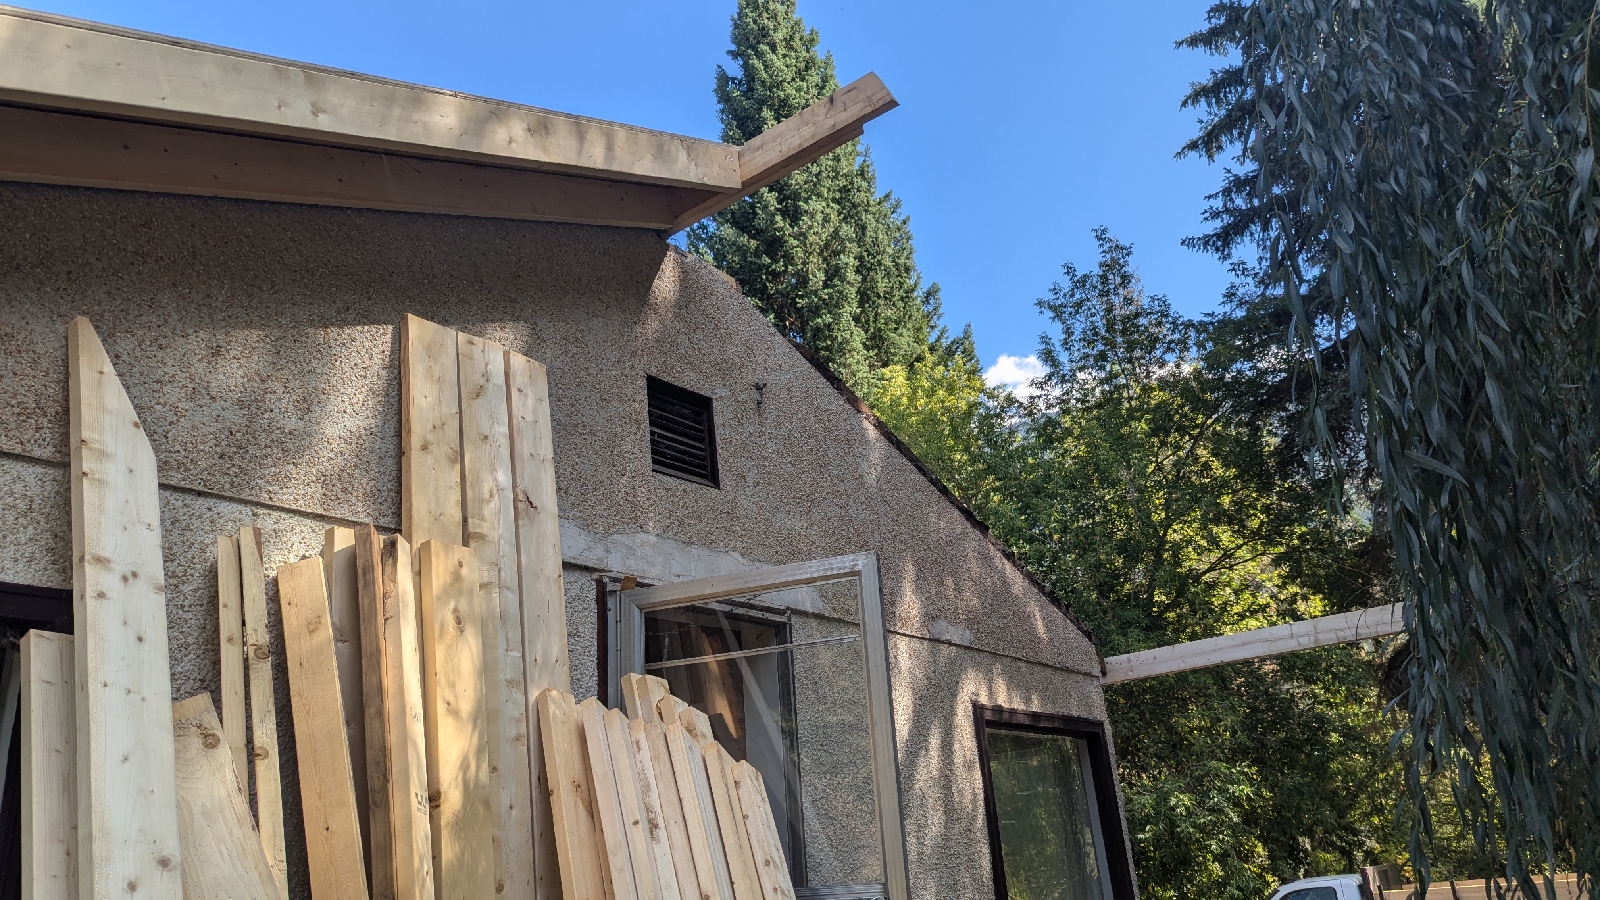
As before, I screwed my 2x6s on to give the new roofline some form and added another 2x6 to the ridge board for the overhang.
Measured and cut a 2x4 to sit against the house as backing for the 2x6 that will form the other support for the soffit.
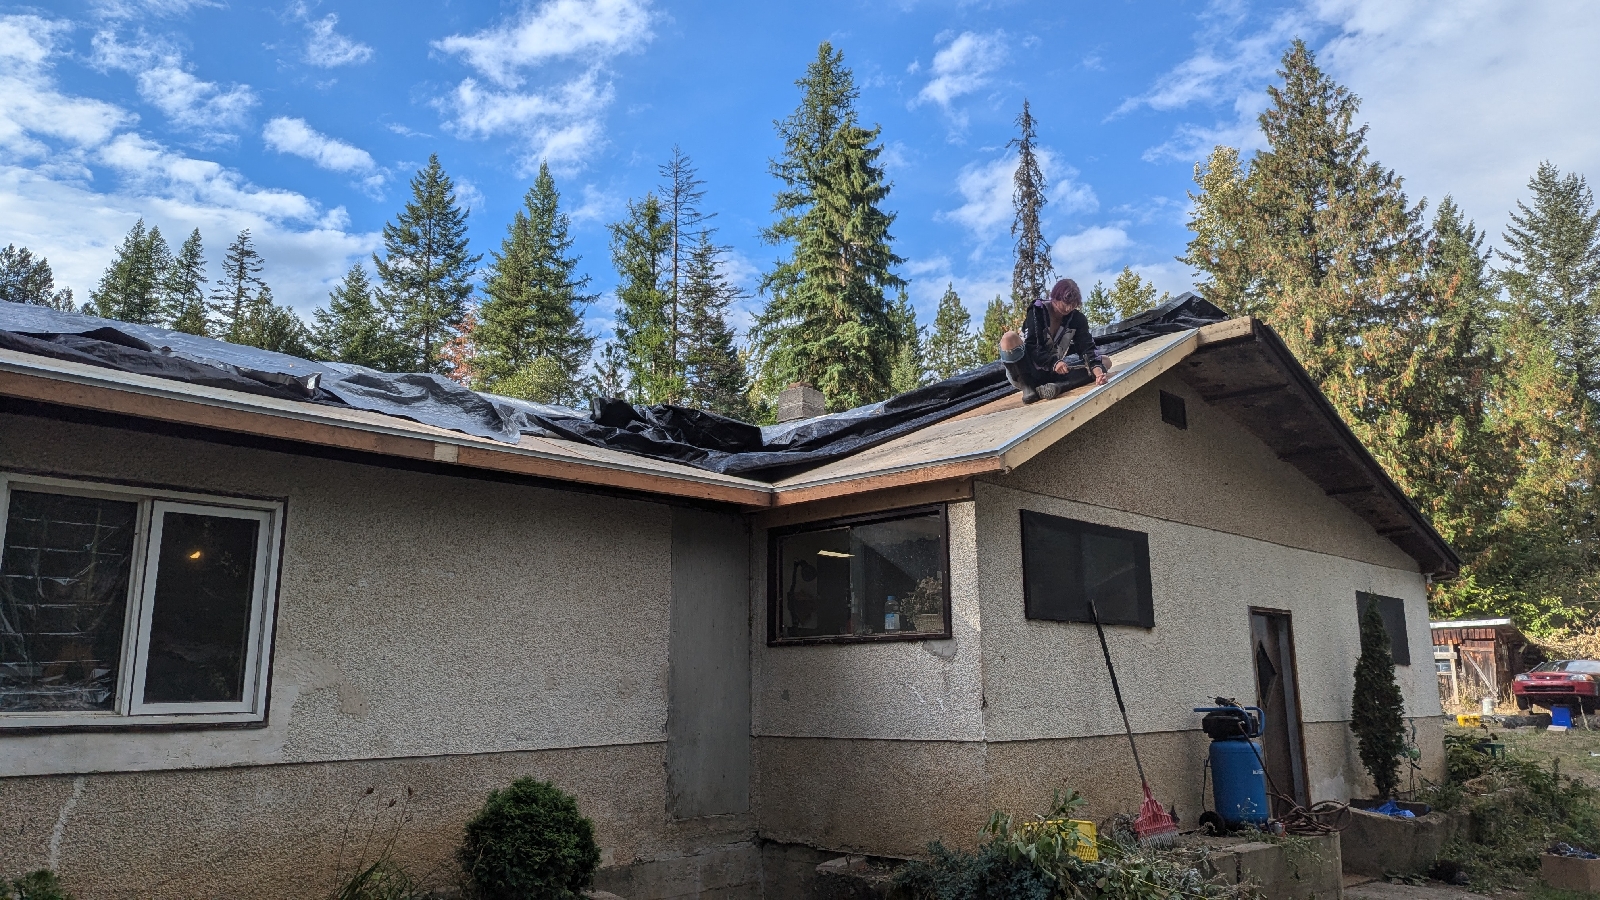
Once that piece was on, the rest of the sheathing went up quick and easy. This was a huge moment for me, the new roofline finally sorted, the roof fully sheathed in durable strong plywood. At long last things were starting to take shape.
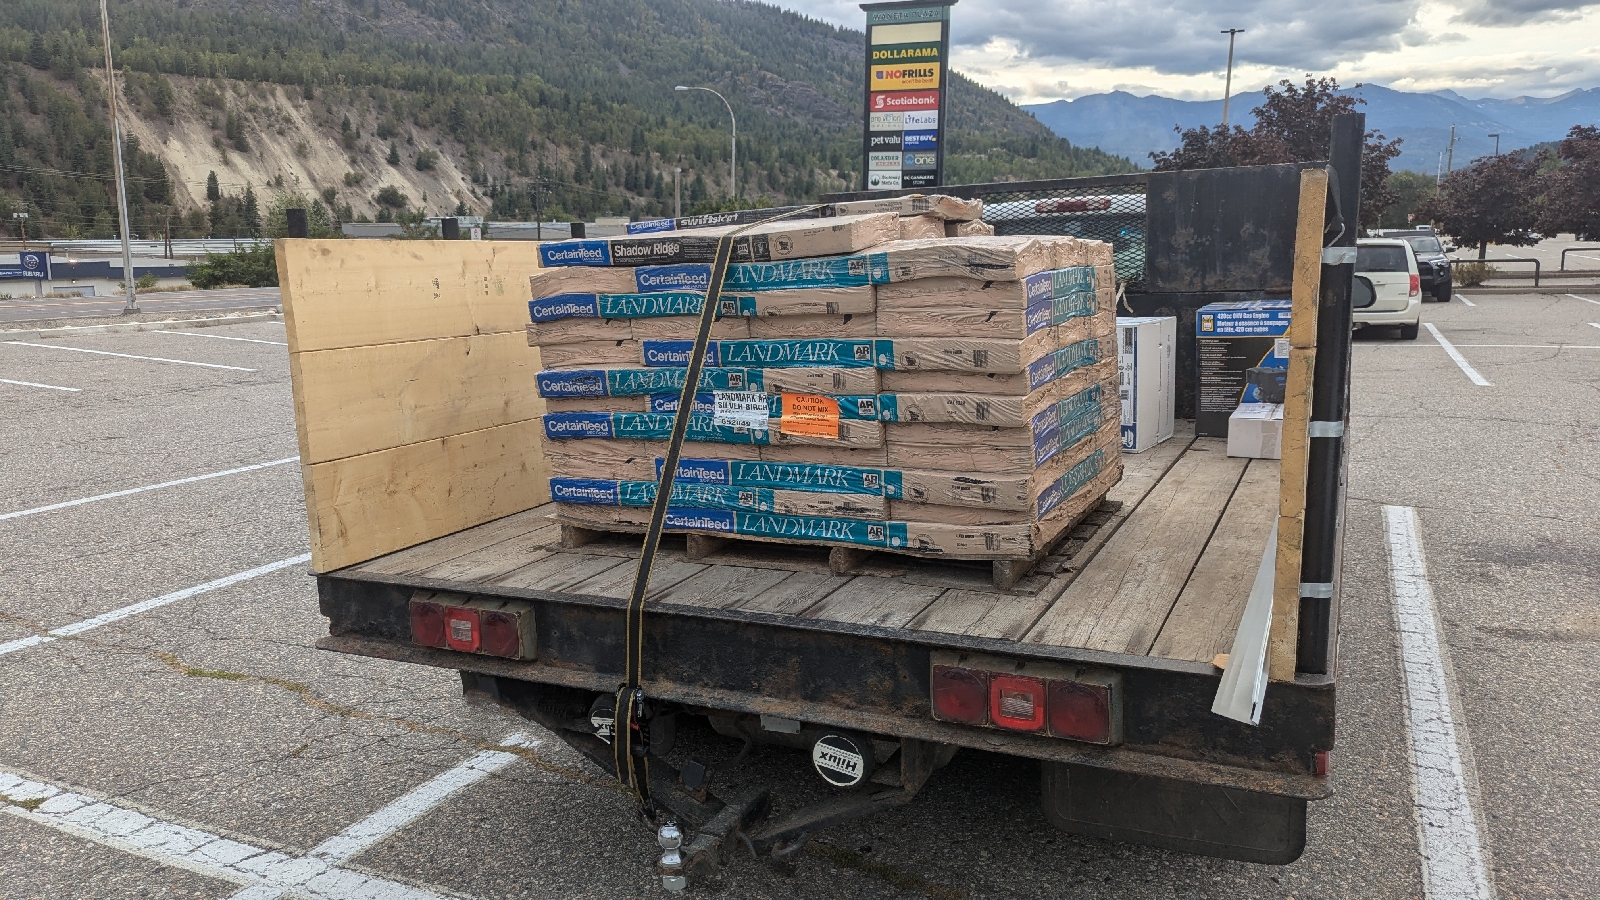
So, off to the hardware store to pick up shingles, drip edge, ridge vent, all the good stuff you need to take a roof from sheeted to done. The lightest colour available, silver birch, because in spite of the fact that I don't actually like the colour at all, it's the most practical, it absorbs the least amount of heat in the summer, which will keep my house cooler inside. A trade I'm more than willing to make.
Speaking of shingles, anyone who has done roofing knows how heavy these bundles are and how humping them up the ladder is perhaps the worst part of roofing. Thankfully, I now have a piece of (light) heavy equipment to assist me. I decided to build a little tray that mounted to my mini ex bucket to ease the burden of moving these shingles up onto the roof. Yes I spent more time prototyping and building this tool than I would have carrying the shingles up onto the roof, but that's not really the point. I had a good time and saved my back. Here are several of my prototypes built from scrap I had laying around as I attempted to make it stretch all the way to the roof.
With the mechanical thumb resting on the ground for stability, it's similar height to the truck deck for ease of loading, and the mini ex can handle 2 bundles of shingles in the contraption to lift all the way to the roof. It worked astoundingly well, more on that later.
Anyhoo, roof, sheathed. Next up, furr out that facia board with some 3/4 ply to make it an attractive and consistent 14" from the stucco.
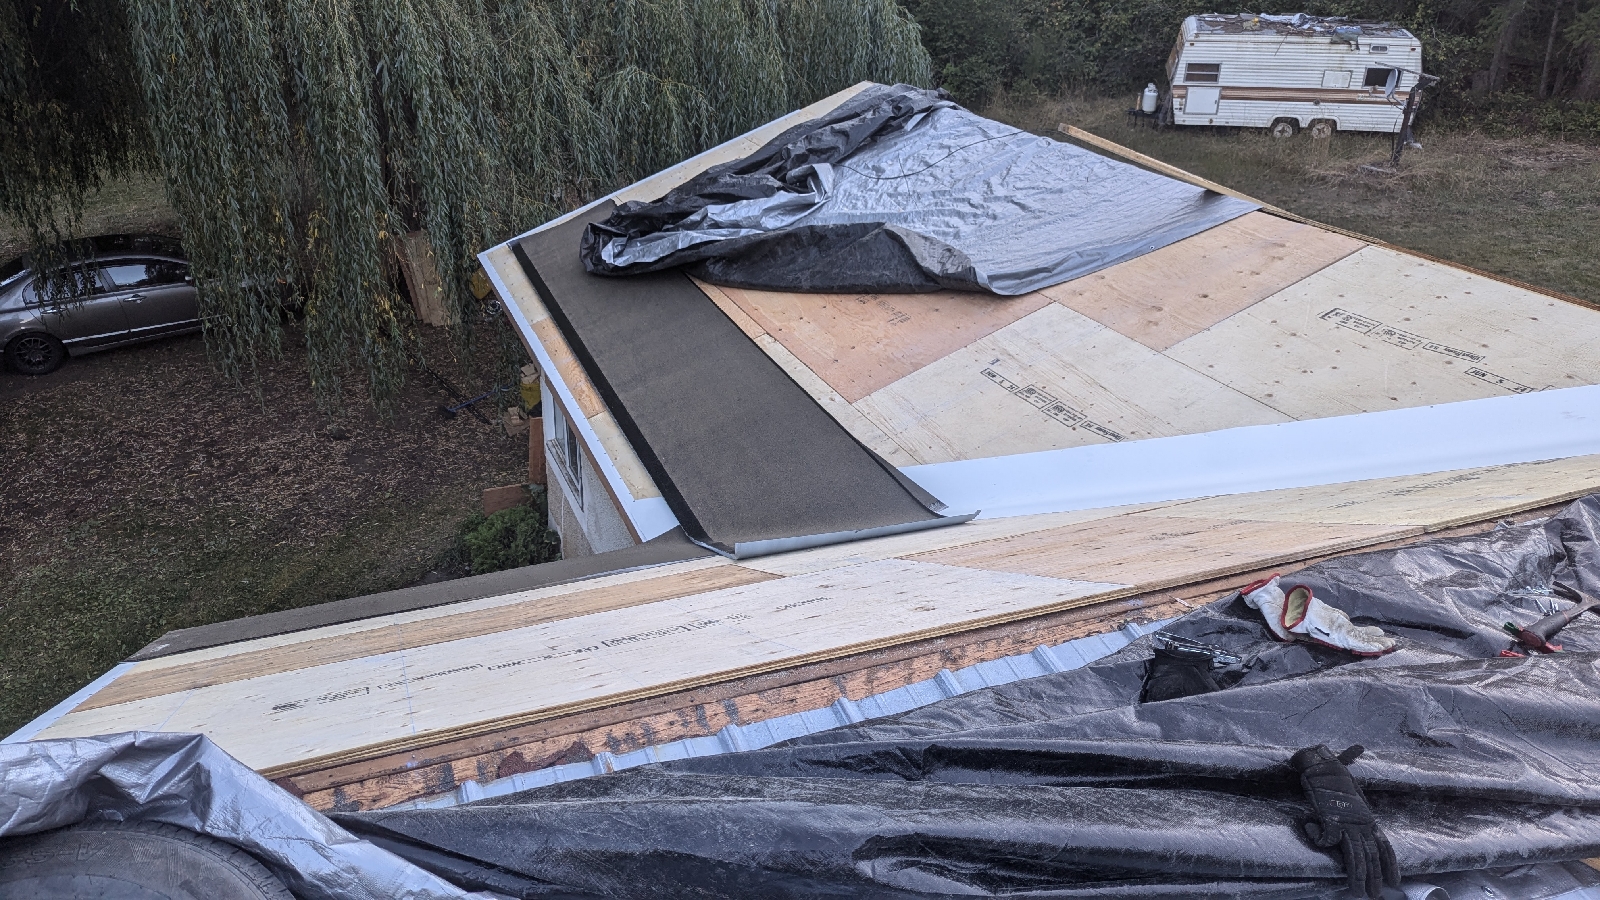
This would have been very tough by myself so I am very grateful for the help of my wonderful friend. Drip edge finished on the front side, it was time for valley flashing. This isn't strictly necessary, but flashing is cheap, I'm already here, why the hell wouldn't I?
And then, water and ice shield. This is put down along the bottom edges of the roof and in the valleys to help prevent ice dams from forming.
The underlayment is installed in a weave over the valley to further protect it. Because of the low slope of my roof I overlapped 50% of each layer as recommended by the manufacturer effectively giving the underlay double thickness.
As a result of the 3/4 ply I put on the front facia, there was a pefect gap up top for the ridge vent but this was not the case for the back side so it was time to get the circ saw out and trim the sheathing back a bit to allow for proper airflow up and out the ridge vent.
After a bit of reflection, I realized it made more sense to do ice and water shield first and then flashing since water flows downhill so that's what I did on this side.
Ridge vent is the superior way to ventilate your roof. Combined with perforated soffit and some insulation hold back pieces that keep the insulation from touching the roof where the ceilings and walls join, a constant natural draft will form with air entering the soffit, running the height of the roof and being exhausted out of the ridge vent. This helps keep the house cool in the summer by venting hot attic air, and helps to prevent ice damming in the winter, also by venting hot attic air and therefore keeping the roof temperature closer to the sorounding air temp.
Roll it out, nail it down...
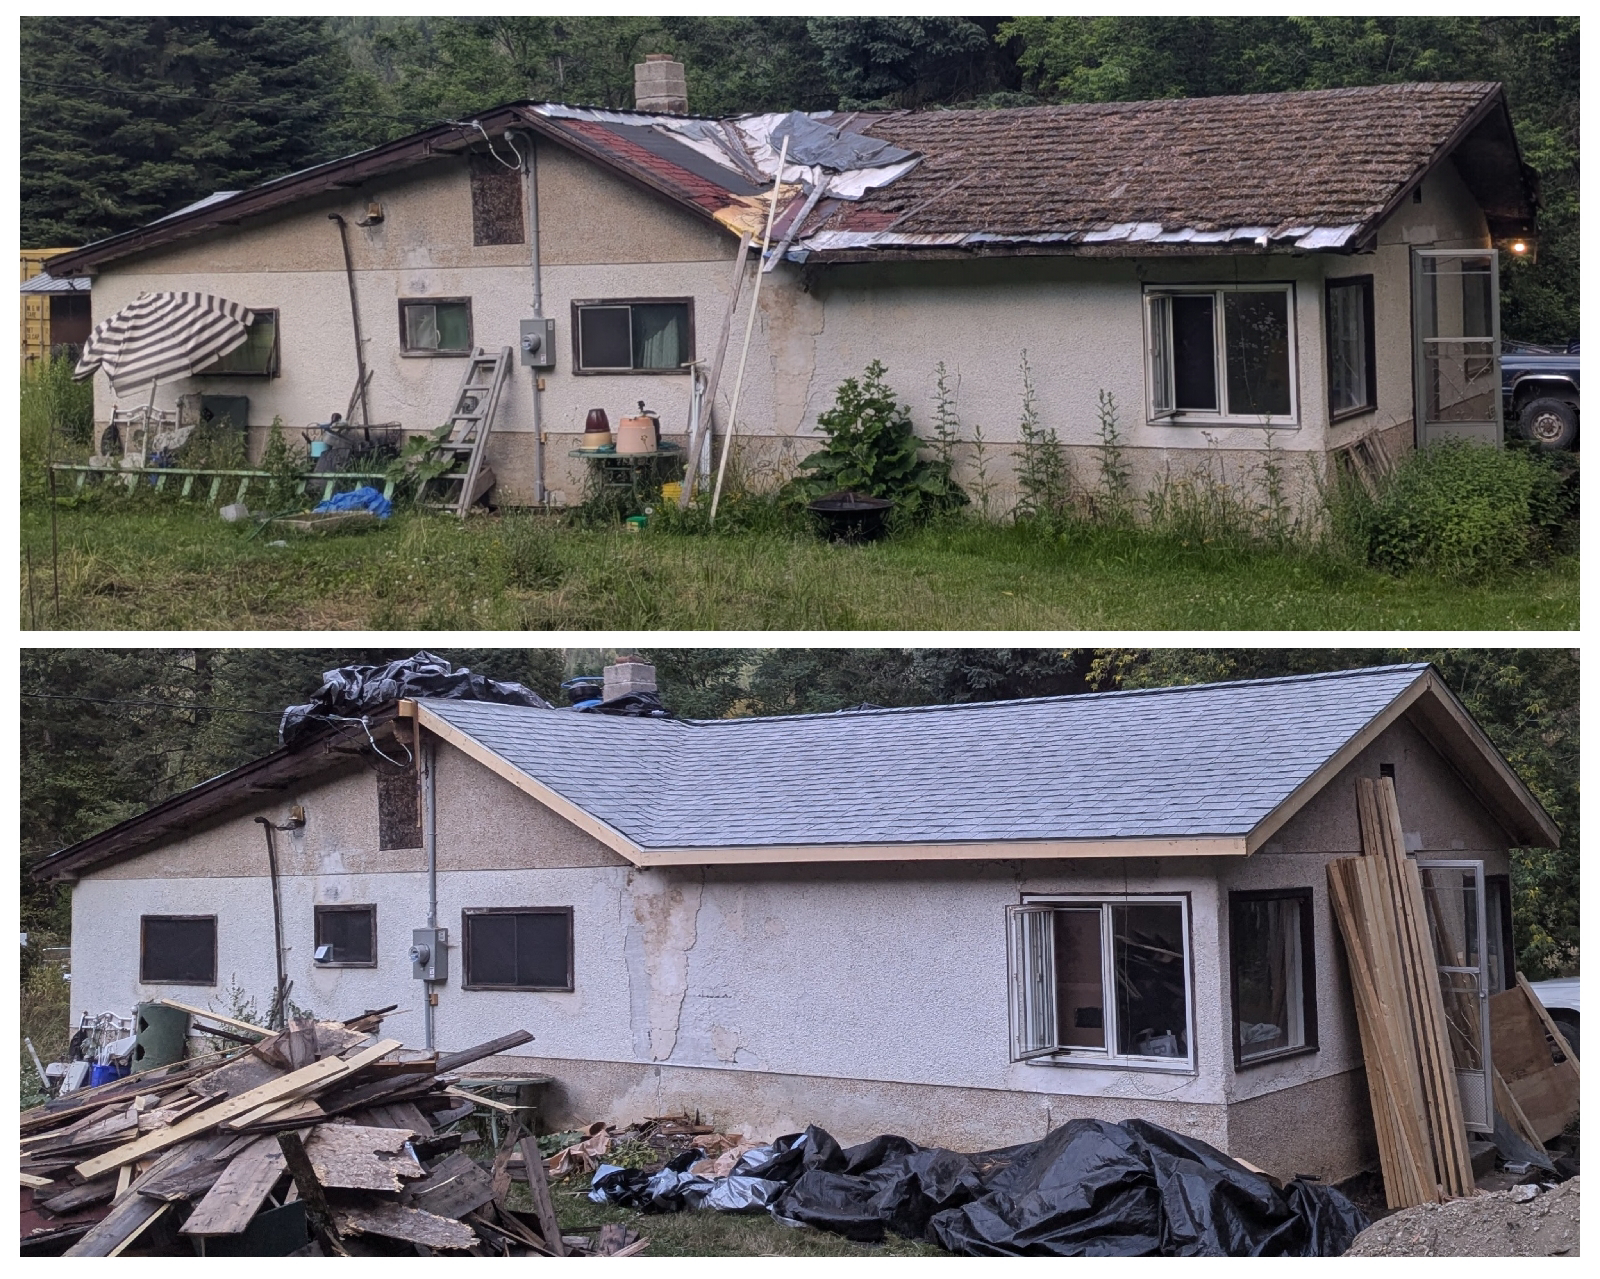
And with that, I considered the roof done for the year. It no longer leaks, it's sheathing and overhangs are strong, it's lines are clean, or at least the parts I worked on are. At this point it's gotten very late in the year and I would be tempting fate by pulling off the non leaking metal roof and attempting to re frame re sheath, and re shingle that whole side, so I'm calling it until spring when I can realistically do that without snow risk.
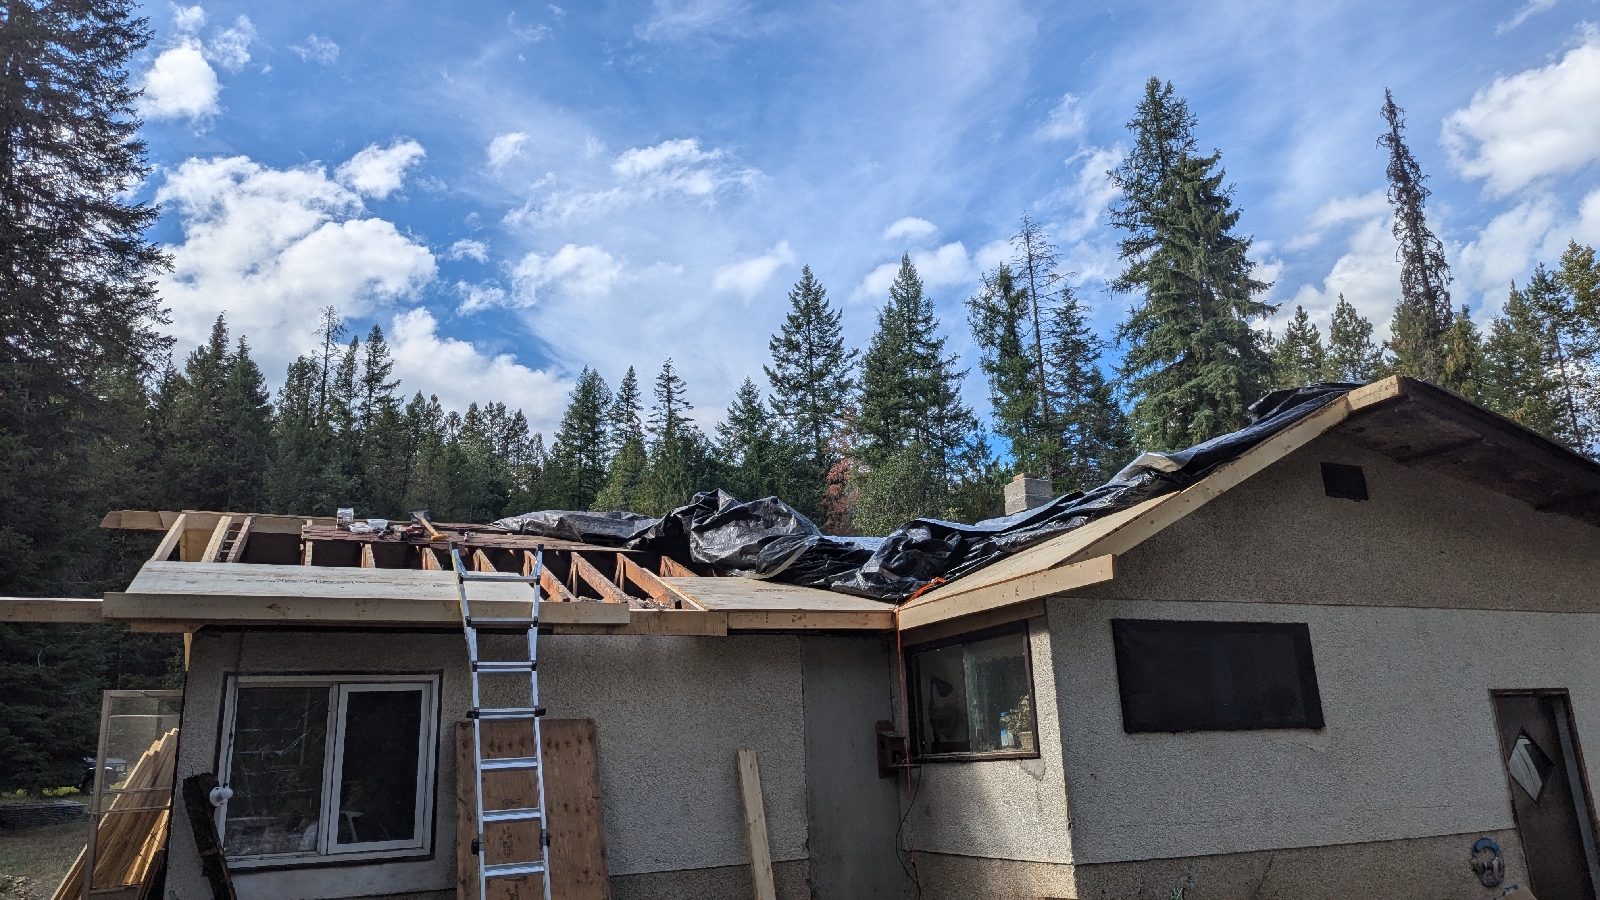
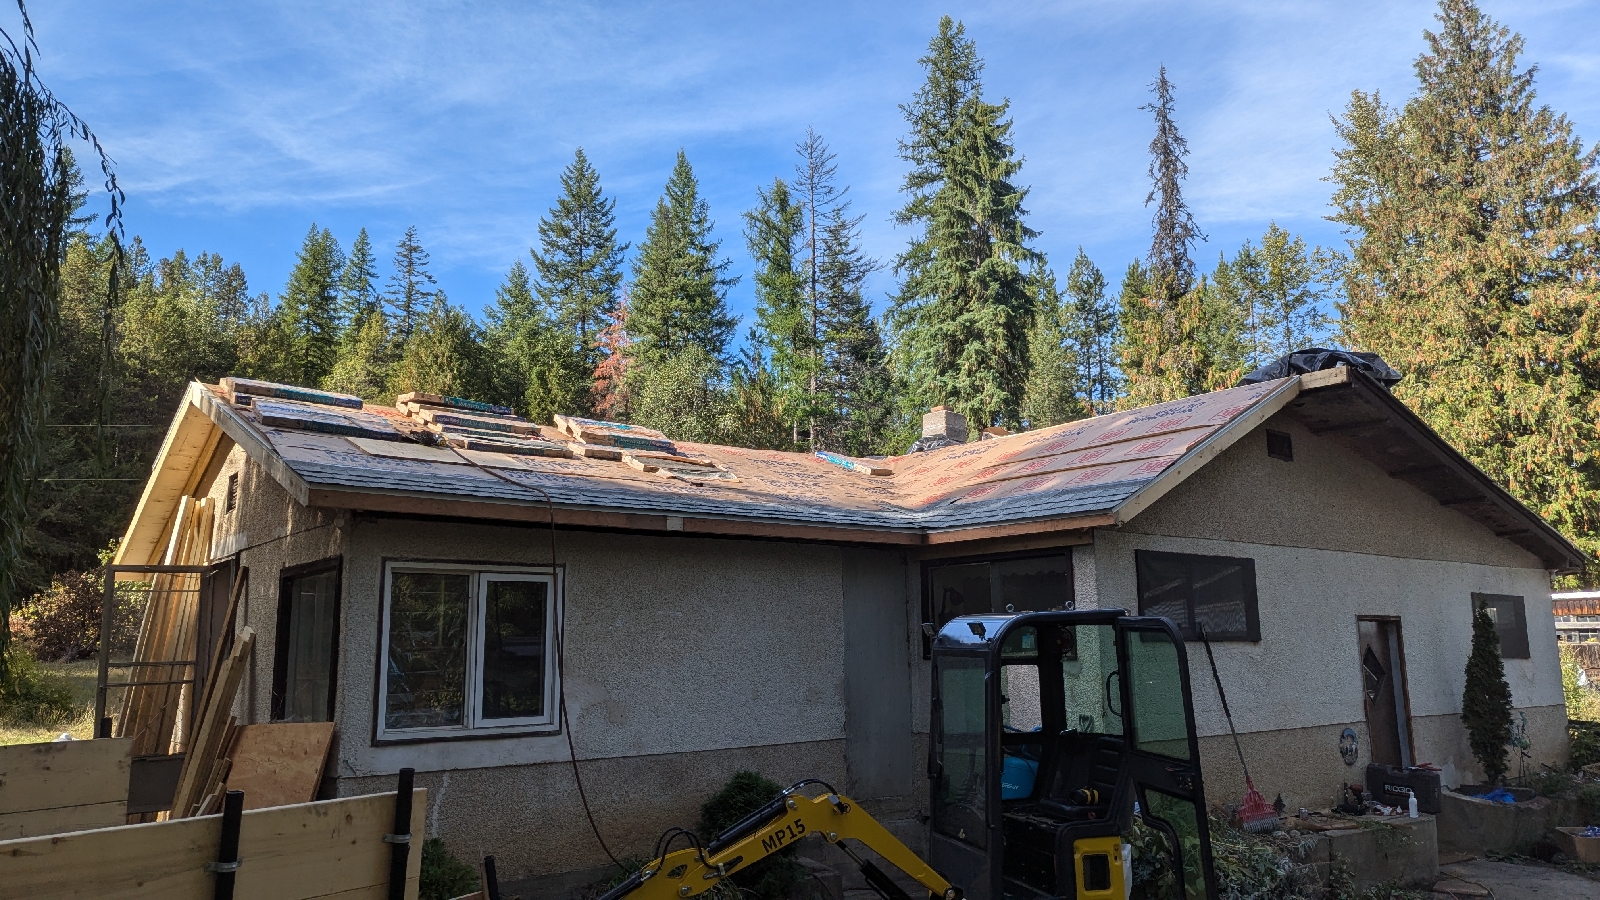
Some before/after victory pics:
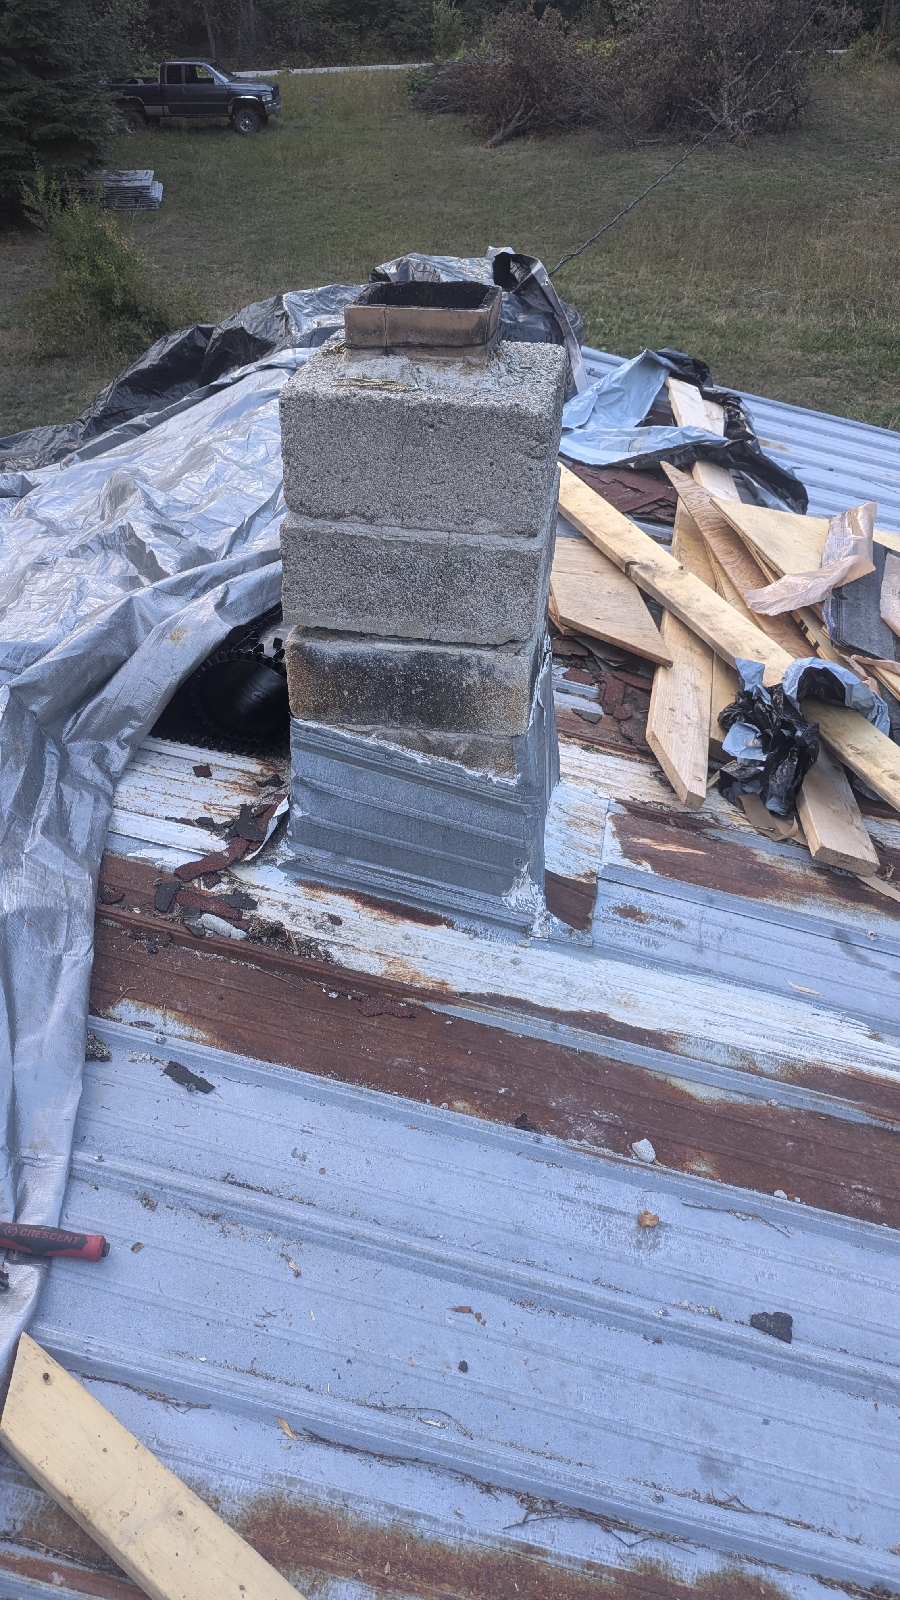
Now all of that said, there's a couple of small things I need to take care of before winter. First, this guy.
This is the old chimney for the wood heat. I'm no longer using wood heat, and the chimney is damaged beyond repair from a chimney fire and the subsequent putting out by the fire department. You can see some of the bricks are already partially separated.
Anyways, it runs right down through the bathroom which is going to be my winter project so I wanted to demo it below the roofline so I could finish removing it over the winter without leak concerns.
Hellooooo rotary hammer.
The roofers had an interesting strategy of just cutting slits in the tin and pulling it up around the chimney as flashing. I was able to bend it over...
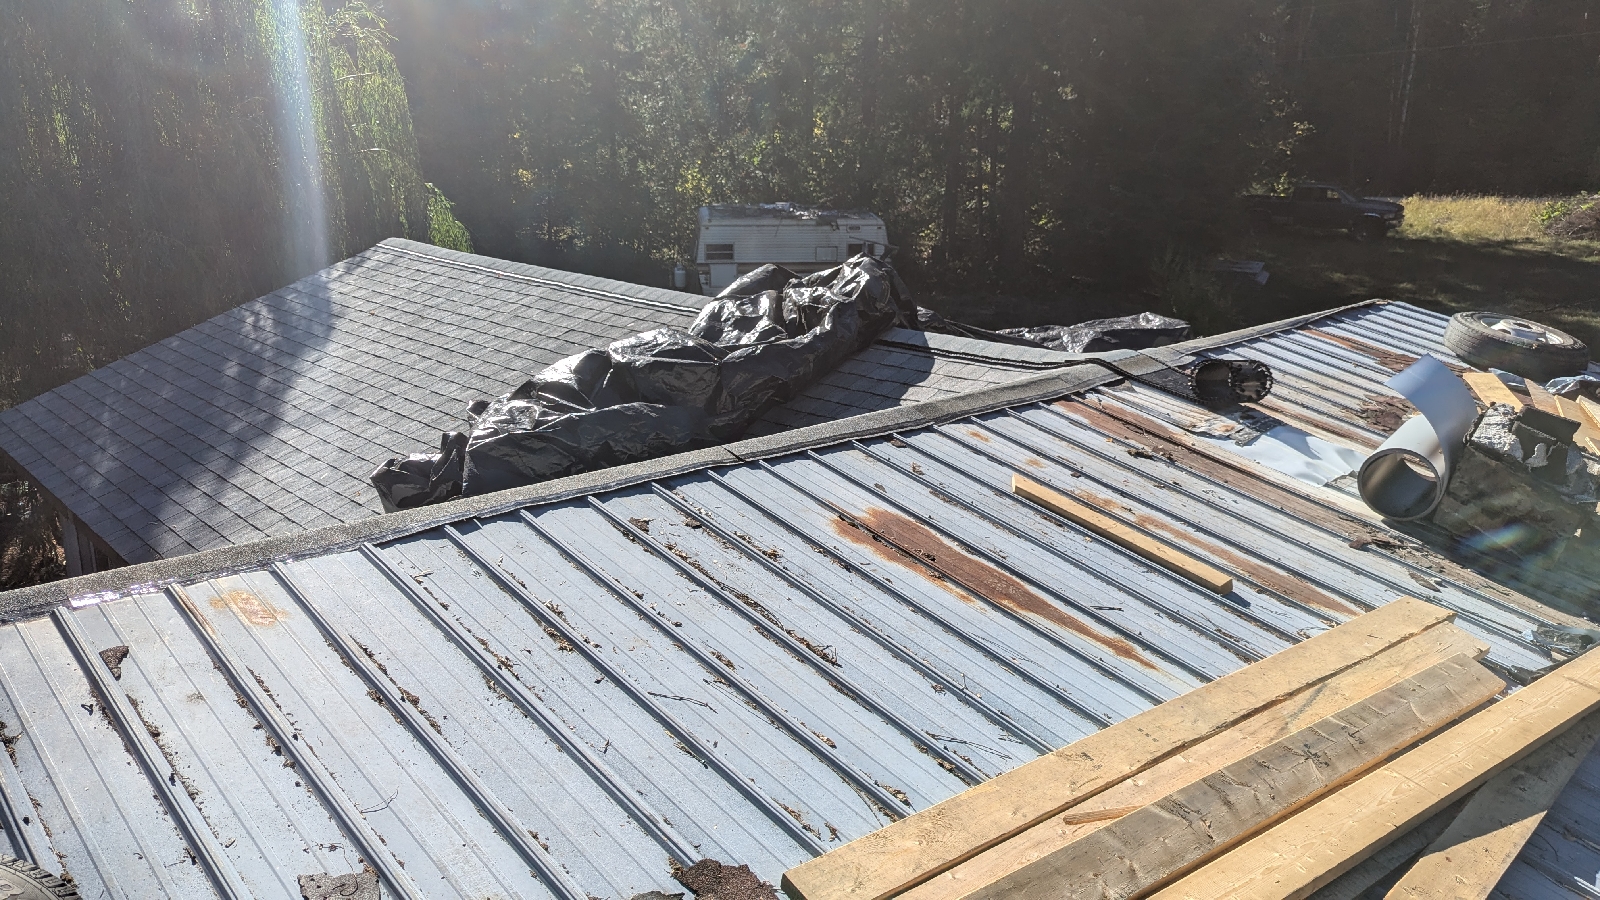
With the chimney below the roofline, my last task was to "seal up" the transition between the freshly shingled new roof and the old tin roof, just for this winter.
First, one more row of shingles up and over.
I didn't want to put any fasteners on this side, nor did I want to risk the sharp edge of the flashing cutting into the new shingles, so I sandwiched it between some 2x lumber, both weighing it down and keeping the edges away from the shingles. On the other side, I simply screwed it in through the tin roof.
And there it is! The roof is as complete as it's going to be till the new year when I can tackle the metal side. Till then it will keep me nice and dry.
The trip for shingles was costly, $3600 so that brings the reno cost to $9600 to date. That said, aside from possibly sheathing, I have enough materials to finish off the roof completely once spring rolls around.
It feels good to be dry, and more importantly, it feels good to know that my home isn't being damaged more with every rainstorm.
Thanks for reading, friend. I'll update the roof situation in the new year. Until then it's onto fresh other projects.



















Comments
Post a Comment