The most glaring and time sensitive problem with the new house is it's roof. From what I'm able to determine, it was originally an asphalt shingle roof which then had cedar shakes put over part of it, and some galvanized metal roofing put over the rest, right over top the old shingles. Then at some point, part of the roof had it's cedar shakes removed, leaving behind only the original asphalt shingles, now with many nail holes from the cedar. More importantly than the nail holes, at some point at least one of the valleys failed, which has caused a leak inside the house at the valley bottom. The other valley also looks to have failed, but it does not leak water into the house, yet.


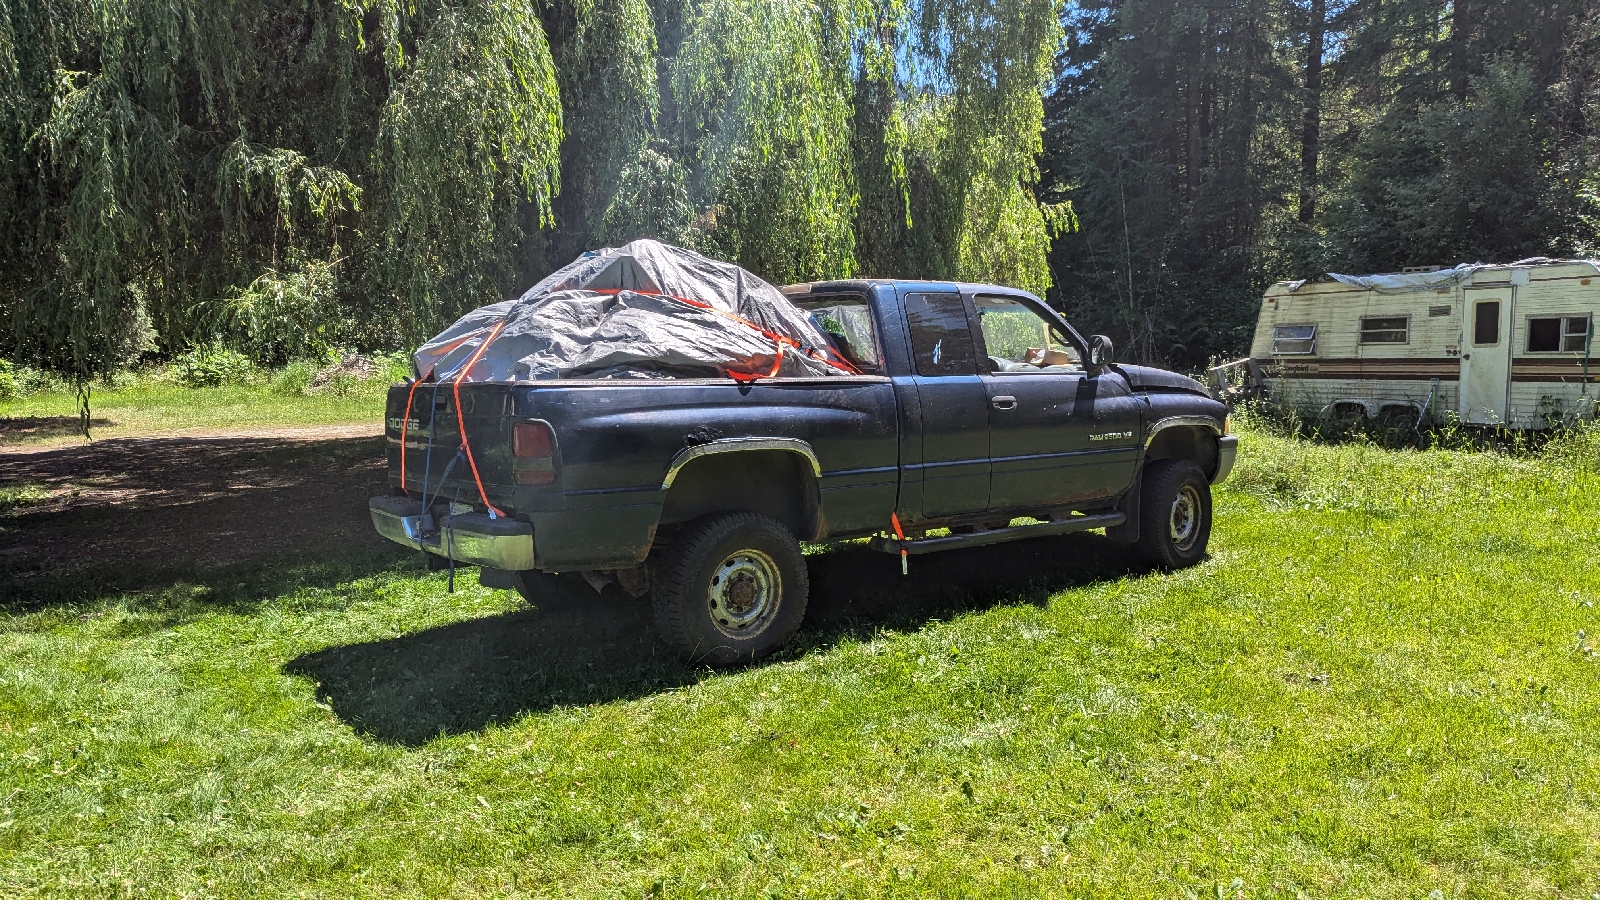
 The valley in the second picture is the worst part of the roof so it was what I tackled first. Tore an entire truckload of cedar shakes off and disposed of them:


 With those out of the way, stripped off the remaining roofing, mostly asphalt shingles but a mix of other assorted metal and, wildly, a cut up vinyl inflatable pool floaty the previous owner used to poorly attempt to waterproof the valley.

 The part of the roof in the foreground is an addition, you can see the old house and roofline which they just tossed some rafters on top of without additional bracing to form the valley. Not the greatest choice, and something I will be rectifying.

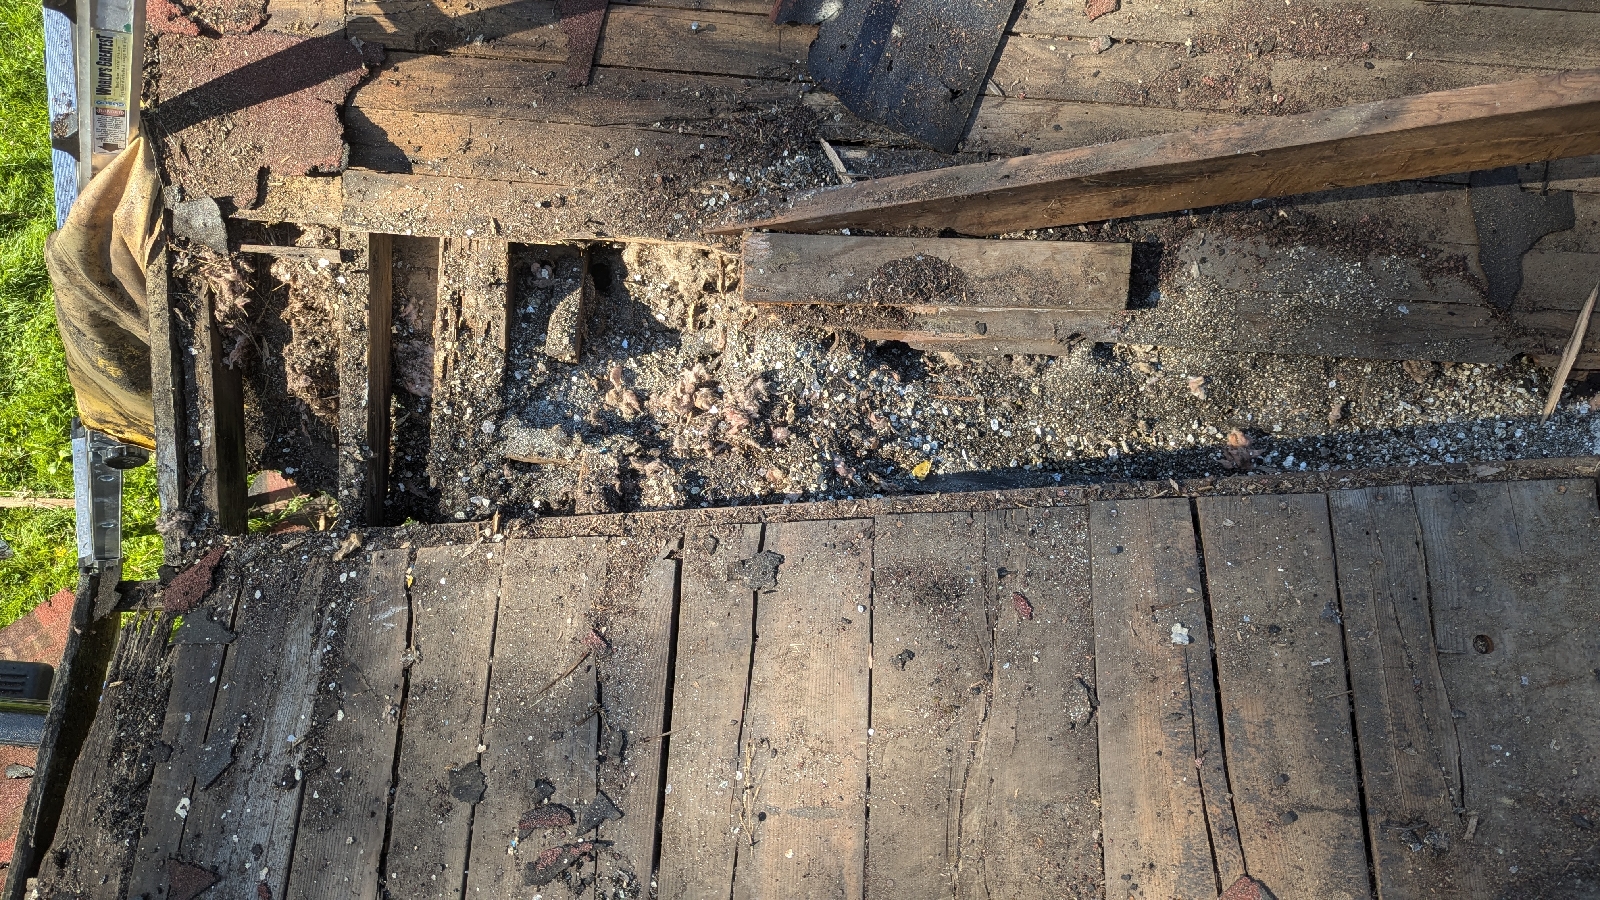 pulled a few more boards out, dug the wet insulation back, and pushed the ceiling tiles in the room underneath off the wall to get a better idea of the damage.

 A cursory inspection reveals that 4 or so of the rafters in the original part of the house are displaying some water damage and rot, at least one of the rafters in the addition on the house displays damage/rot, and the supporting walls underneath are showing signs of damage. All will need to be replaced and when I opened the wall supporting the original section of the house I found some other surprises to be addressed in a seperate post.
 (note also the 2x6s screwed to the metal roofing on the ridge of the original roof. I was able to use those to secure the tarp and hopefully reduce tearing from metal on tarp contact)
 On went a big ol' 20x40 tarp secured down with 3" wood screws through the eyelets, and for the small uncovered section of roof, some scrap tarps I had kicking around.

 Definitely ready to weather any storm that comes this way while I get a solid structure in place to work from up top. Total renovation cost to date, including roofing removal tools/shovels, tarps, dump runs, and a truckload of lumber and plywood to begin the corner repairs, plus the $220 from last post is $1750 to date.
Anyways, with a little cozy corner in the house painted up to call home, it was time to tackle the roof; first a couple of before pictures:
So, after pulling off the sheeting in the little valley area, this is what I found, some nice wet insulation and rotted wood. This leak has been present for a while.
In the meantime, although my fancy new skylight is very nice, it might let a little rain in if the weather were to change and I'm working full time while I do this so I needed to cover it up temporarily while I rebuild the structural supports inside the house. I picked up some plywood to slap over the big gaps, accompanied by a chunk of the wood paneling I took off the inside room.
Time to switch gears and tackle the support walls inside.
Comments
Post a Comment